Sustainable DIY: Dye items from Goodwill
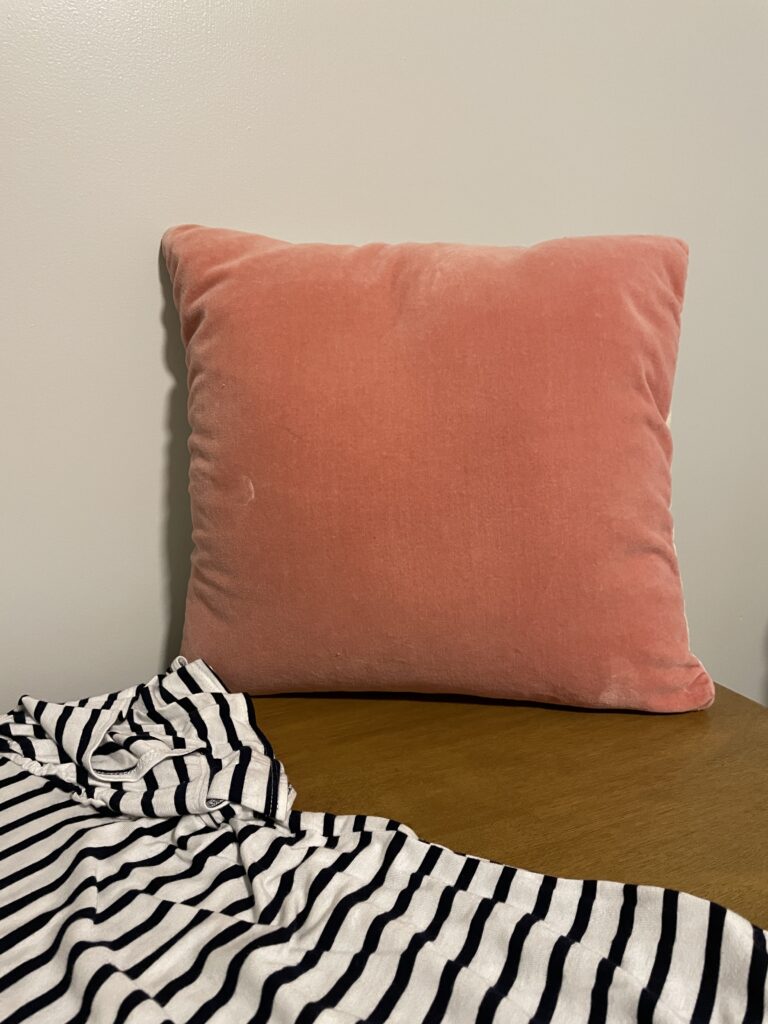
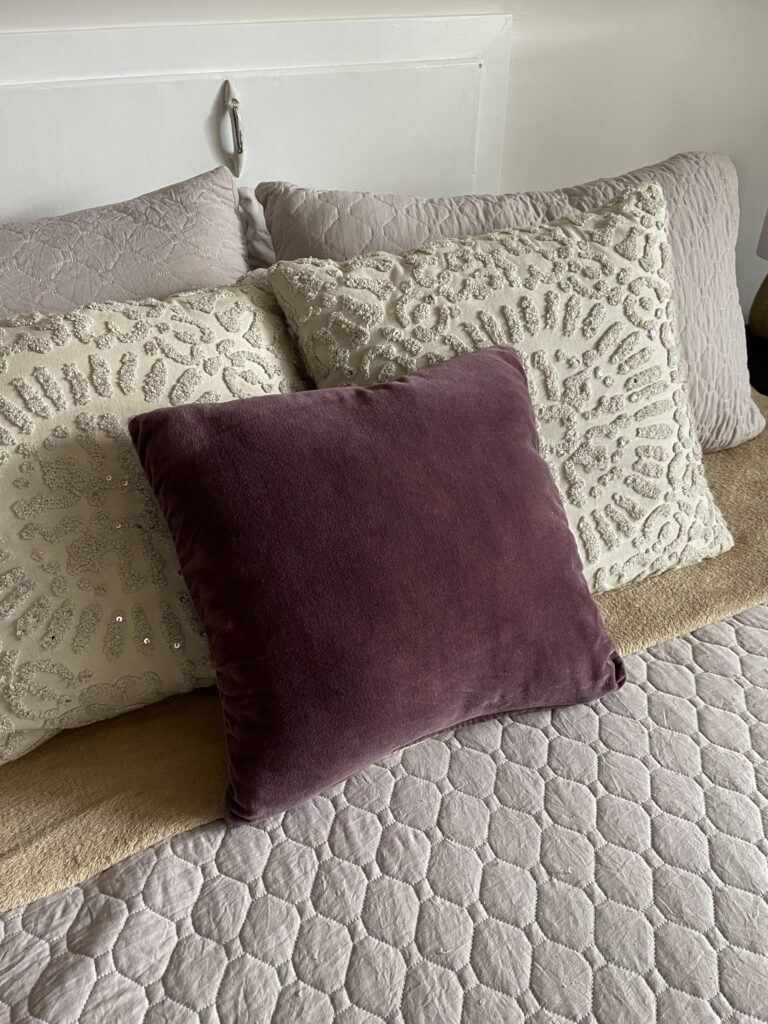
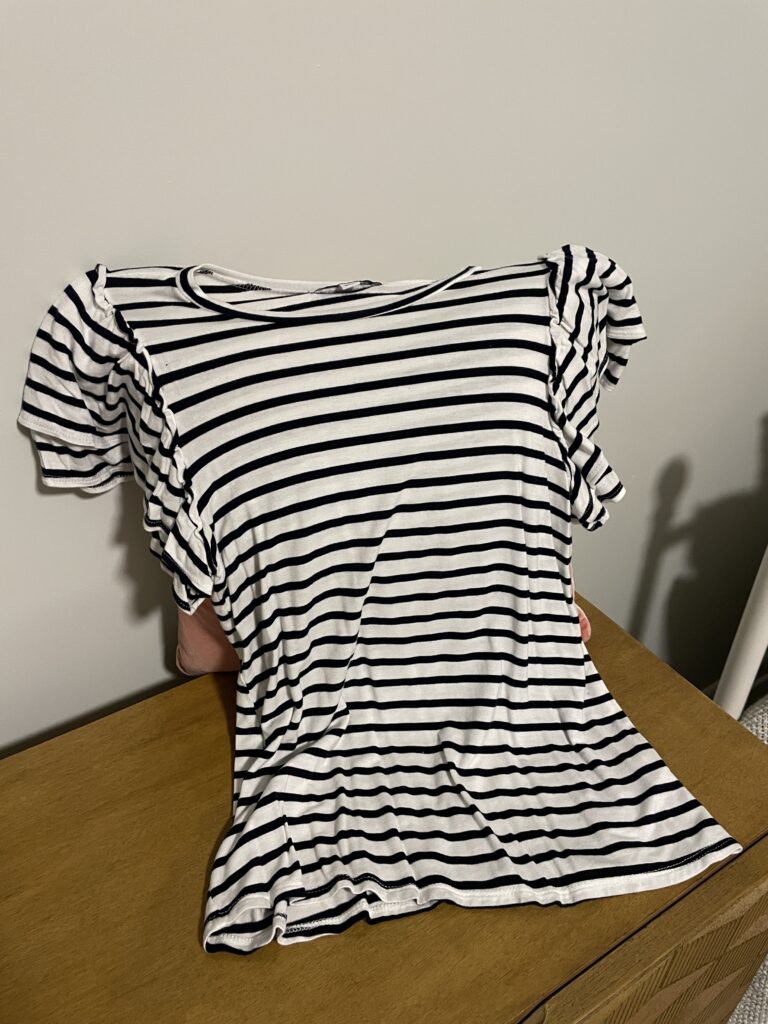
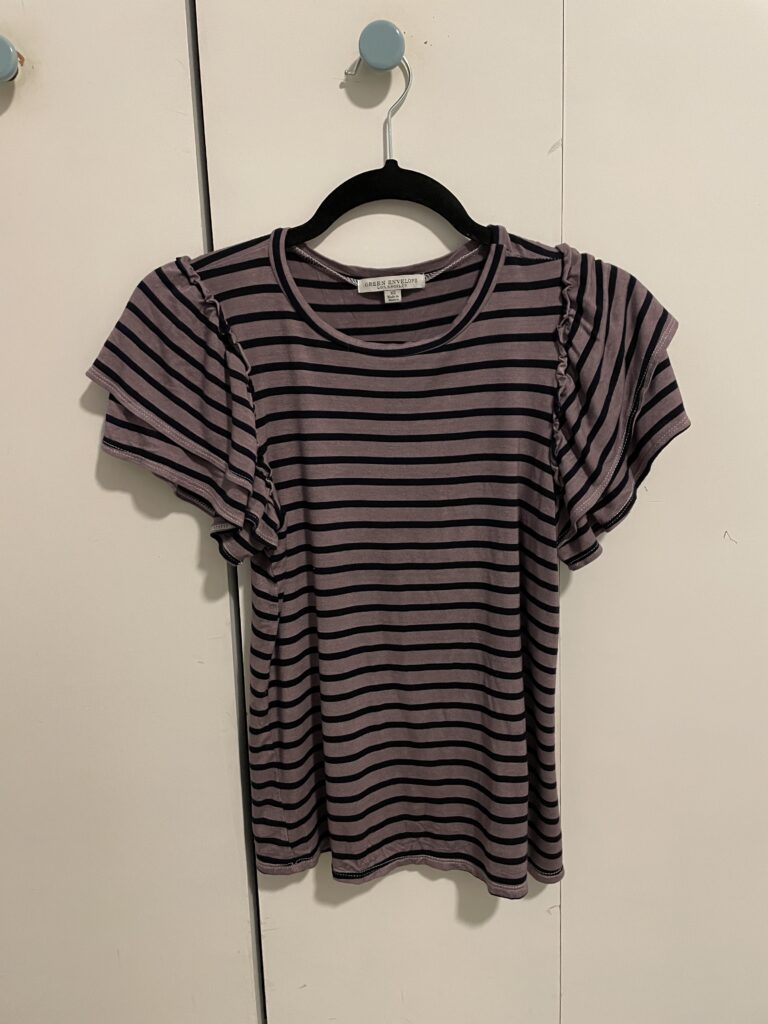
I found a shirt and throw pillow at Goodwill that I thought were great, but the colors were all wrong for my taste. Instead of passing up a good deal and the chance to reuse something rather than buy new, I decided to buy the items and try my hand at dyeing them.
With some all-purpose Rit dye and an eagerness to try a new DIY project, I got to work.
Things to know before you dye:
- Dye formulations are all different, and colors can come out different than expected.
- Black and gray dyes from Rit tend to come out a bit purple. I was happy with the final look, but you may wish for a different result.
- Different fabrics take color differently, so some items may be more vibrant than others using the same dye.
- The amount of water, dye and salt (or vinegar) are important; so is the temperature of the water. Hotter water helps fabrics absorb dye better.
- It’s a fun process!
Supplies needed:
- Item(s) to dye
- All-purpose Rit dye
- 1 cup salt
- 1 teaspoon dish soap
- Plastic tub or stainless steel sink (helps to have both)
- Large spoon
- Paper towels
- Rubber gloves
Directions:
- Clean items of stains and dirt before dyeing them. You’ll want to wash them in gentle detergent without fabric softener.
- Follow the directions on the dye bottle to make sure you use the correct type and amount of dye for the material you’re dyeing.
- Before starting, make sure to have paper towels nearby in case of spills.
- Place the plastic tub in the sink, and fill it with hot water. You should have enough water so the fabric moves freely. And the water should be very hot, ideally 140°F.
- To enhance the color, you’ll want to add 1 cup of salt for fabrics containing cotton, rayon, ramie or linen. Fabric containing nylon, silk or wool call for 1 cup of vinegar. Make sure to stir in the salt.
- Add 1 teaspoon of dish soap (I added more) and stir.
- Now, you’ll want to put on the gloves to protect your hands. Dunk the items in the water and make sure they’re completely wet. Remove them from the tub and squeeze out the excess water. Set them off to the side.
- Shake the dye well and add it to the tub. Stir with a spoon to make sure it’s evenly distributed.
- To test the color, dip a paper towel in the dye bath, and adjust the water and dye levels accordingly.
- Now you can add the items to the dye bath.
- Stir slowly and continuously. The first 10 minutes are the most crucial. You can leave the items in the dye bath from 10 minutes up to an hour. I left mine in for 10 minutes. You’ll want to refer to the specific dye instructions based on the dye and fabric you’re using.
- Now you can remove the items from the dye bath.
- You can use Rit ColorStay Dye Fixative immediately after dyeing and before washing to enhance the color and reduce color bleeding. I chose not to.
- Rinse the items in cool water until the water runs clear.
- Wash the items in warm water with a mild detergent, rinse and dry.


Notes about my experience:
- My items came out more purple than I thought they would, but I like the way they look.
- I didn’t measure the amount of dye I used, but I know I used too much. Don’t make my mistake. Read the directions carefully, and measure everything as indicated.
About the author: Kelsey Davis is the Digital Marketing & Communications Specialist at Goodwill Industries of Greater Cleveland & East Central Ohio, Inc.